Taliho works best when your first week is focused on structure, not volume. You do not need to upload every document you own on day one. You need one active project, one clear QR workflow, and one team habit that makes information easier to reach in the field.
Start with a small operational footprint
- Confirm your company information and logo so printed material looks intentional.
- Create or review one active project instead of trying to model every job at once.
- Choose one workflow to pilot first: a Quick Code, an arrangement, or a Procore-based share.
- Print and post one field-ready example so the team experiences the full loop.
Day 1: Get oriented on the dashboard
The dashboard is where you read the health of the account at a glance. Review your recent projects, current QR activity, and the places where your team will keep returning as usage grows.
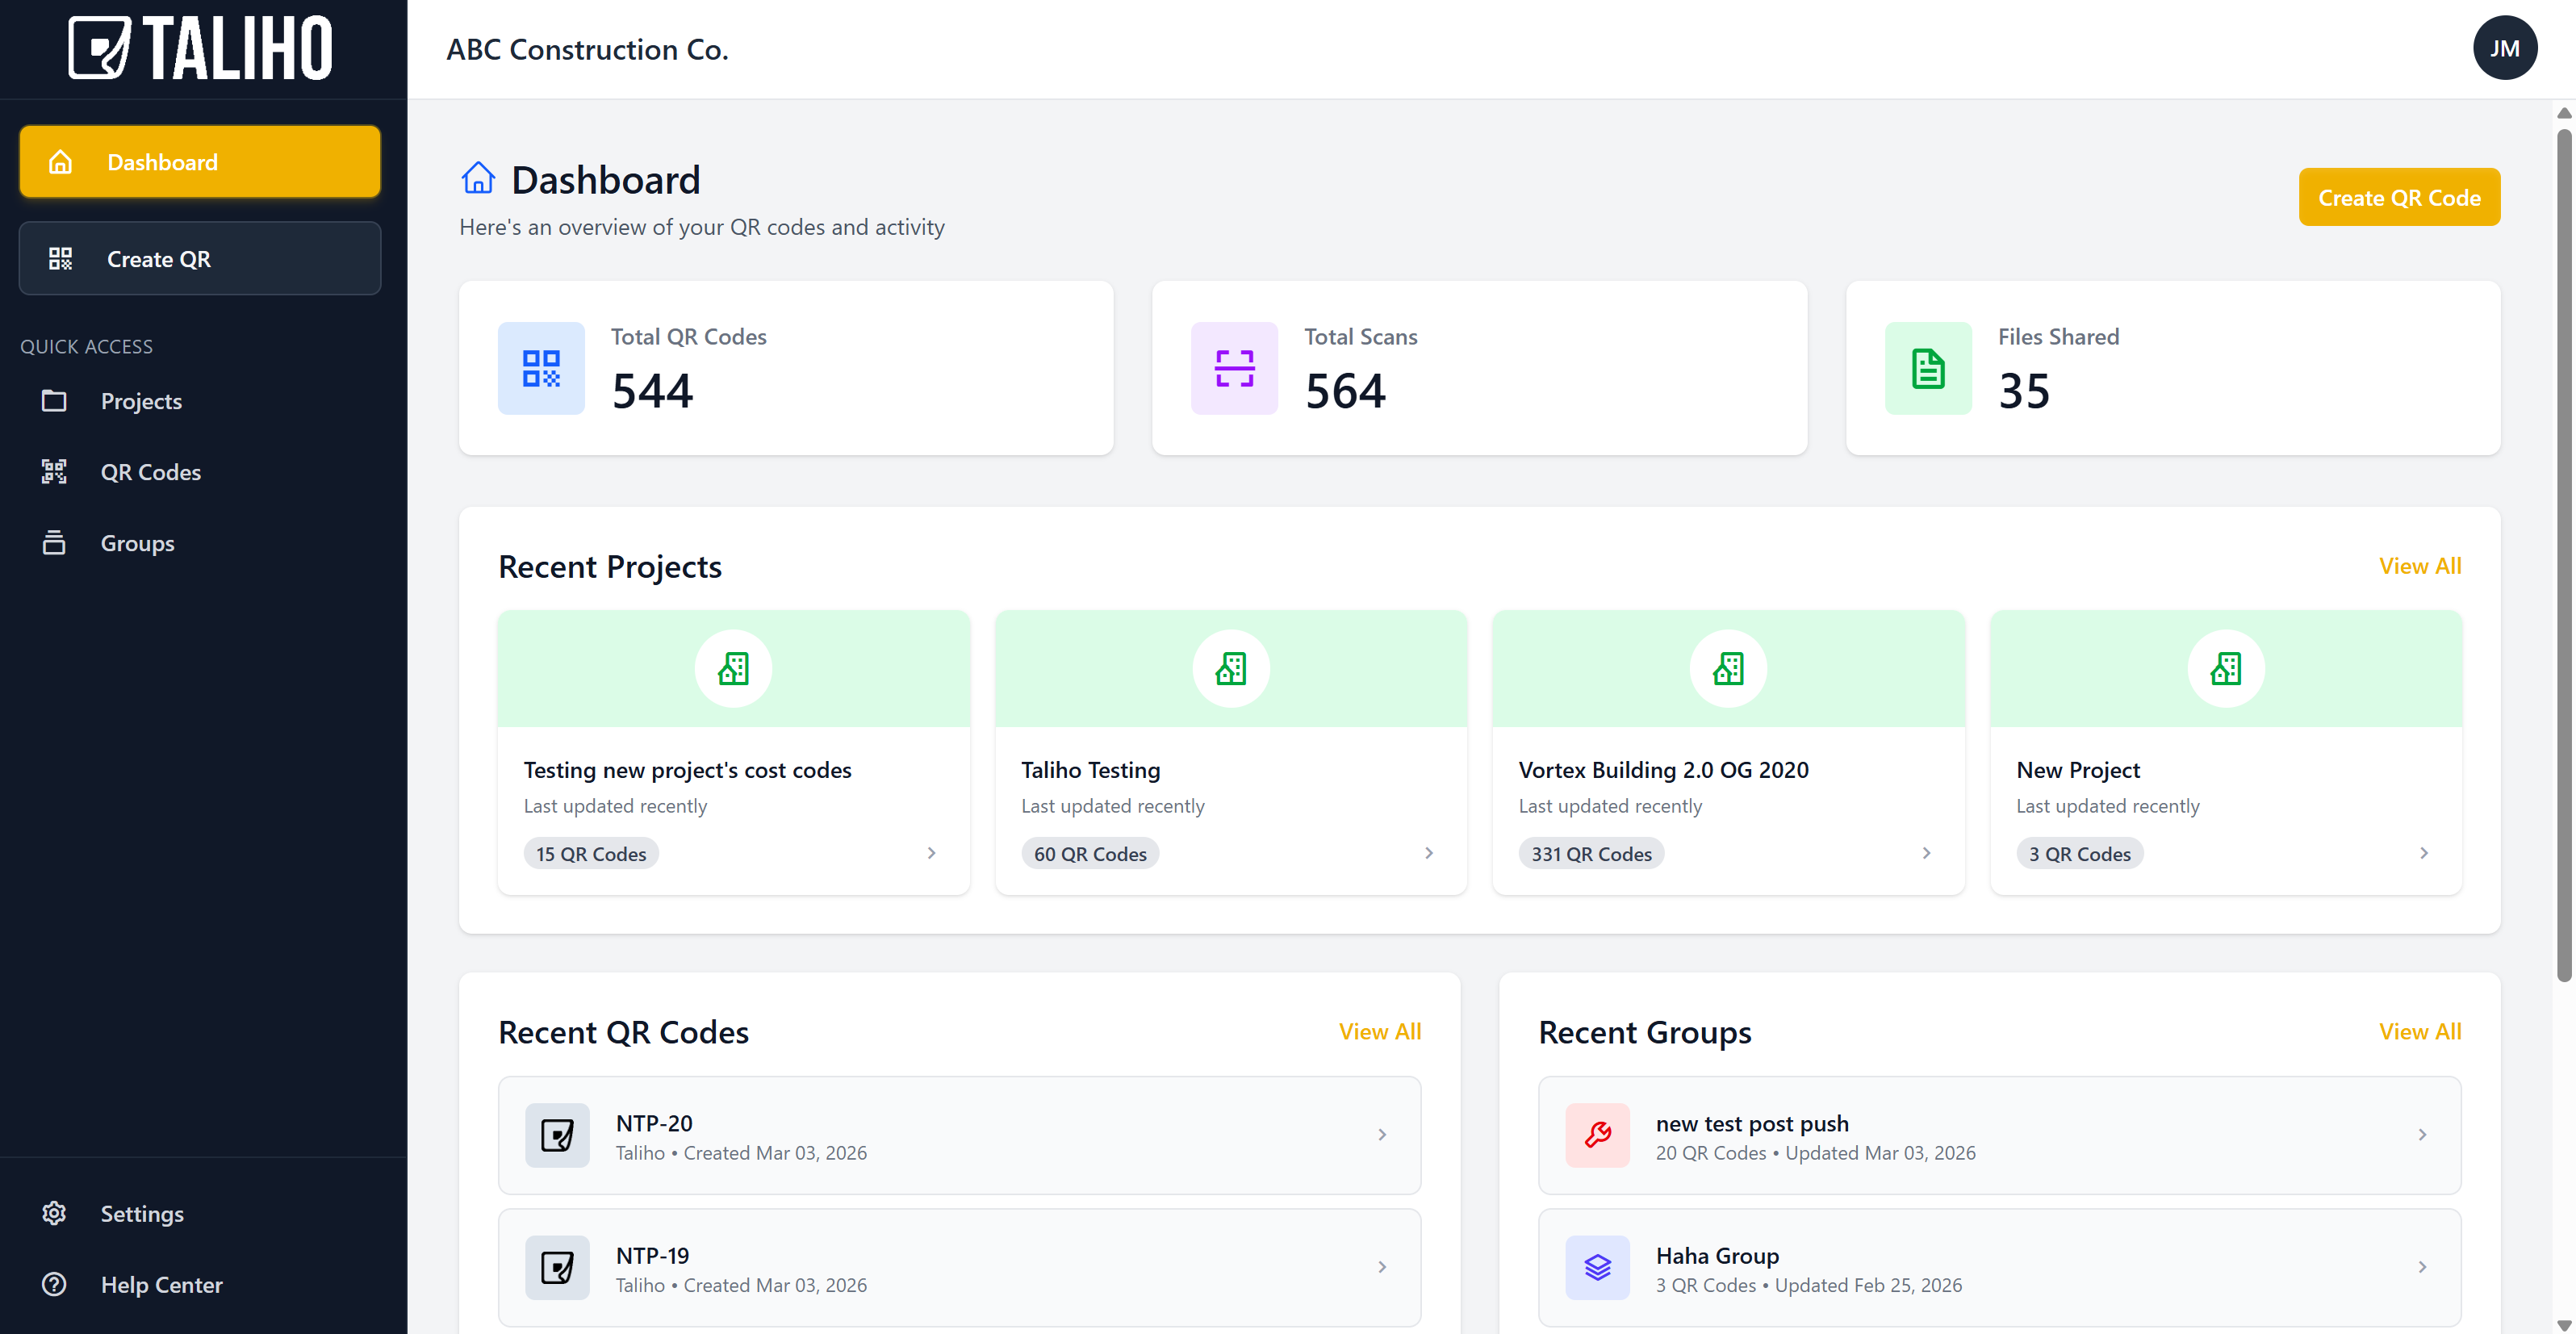
Read the full walkthrough in Use the Company Dashboard Without Missing Anything Important.
Day 2: Clean up company settings before you print anything
Your company name, address, website, and logo show up in places that matter. That includes branded print layouts and the overall trust level people feel when they scan a code posted in the field.
Focus on these settings first:
- Company name and website
- Company logo for print layouts
- Storage awareness if you plan to upload large files directly
Day 3: Choose one QR workflow and make it real
Most new teams should begin with a single Quick Code or a small arrangement tied to one active project need. Good starter examples include:
- a field binder replacement for drawings or specs
- a maintenance or equipment handoff tag
- a safety or procedures code posted near a recurring work area
If you are deciding what to build first, use Build Your First Field-Ready QR Workflow.
Day 4: Post it where the work happens
The best QR setup fails if nobody sees it at the right moment. Put your first printed example where someone naturally pauses to look for information:
- site entrance boards
- gang boxes or trailers
- mechanical rooms
- equipment being commissioned or serviced
Day 5: Review what the first workflow taught you
By the end of the first week, ask a few practical questions:
- Did the label name make sense to the person scanning it?
- Was the destination current and easy to understand on mobile?
- Should this workflow stay a single Quick Code, or should it become a grouped arrangement?
- Would a custom link, password protection, or Procore connection improve trust and control?
A realistic first-week standard
If you finish your first week with one clean project, one reliable QR workflow, and one printed example that the field can actually use, you are on the right track. Taliho scales well when the early structure is clear.
For your next step, go to Share Live Project Information with Taliho or Build Your First Field-Ready QR Workflow.